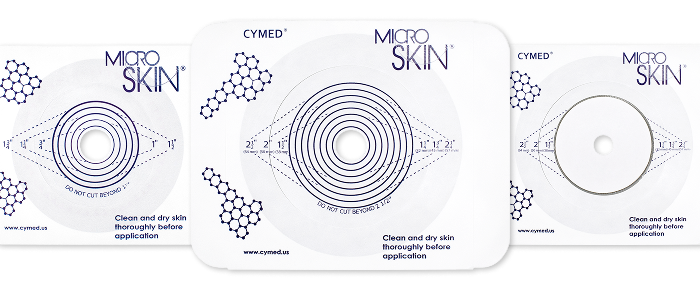
Whether you’re new to ostomy care or adapting to changes in your stoma or overall health, living with an ostomy can feel overwhelming, especially when faced with a wide range of appliance and accessory options.
At Cymed, we focus on simplifying the ostomy life experience. With MicroSkin technology, our pouching systems are intentionally streamlined, delivering a more intuitive and comfortable approach to ostomy care. With fewer variables to consider, getting started is straightforward. Begin by selecting the MicroSkin Barrier that best fits your needs.
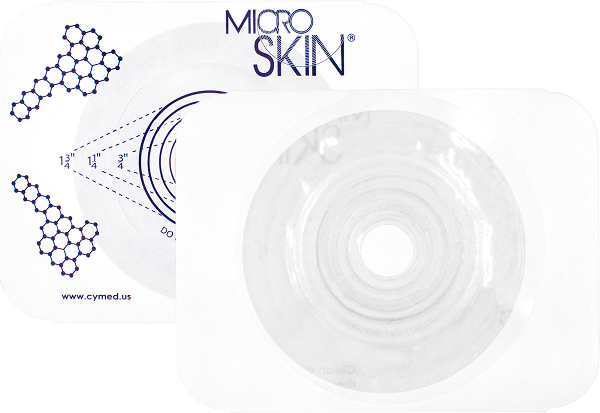
Colostomy
Suitable for most ostomates with smooth peri-stomal skin surface and solid output. Can fit most hernias or bowl shapes.
Urostomy/Fistula
A good choice for all stoma types including flush, recessed or protruding stomas. Fluid simply flows over the skin-like MicroSkin, so there is no need for convexity in most cases.
Ileostomy
MicroSkin with a MicroDerm washer is best for Ileostomates, however, a washer can be purchased separately and added to the plain barrier for those who wish to try all versions.
Colostomy
Ideal for ostomates with a more liquid output, slight convexity, or who may be prone to leakage. Achieves “turtlenecking” effect around stoma.
Urostomy/Fistula
Helpful for those who are prone to leaks and have a slightly recessed or protruding stoma and produce a high volume of output.
Ileostomy
While adults should use a barrier with the thick washer, this is a good option on a Cymed Mini Pouch for young ones with smaller frames and small, delicate stomas.
Colostomy
Best for high liquid output for optimal skin protection and stomal support. For maximum “turtlenecking” of a prolapsed stoma try adding a second washer to the barrier.
Urostomy/Fistula
Helps support a continuously protruding stoma with high output, especially for those who are prone to leaks.
Ileostomy
Creates optimal stomal support with it’s “turtlenecking” effect and protects skin for longer periods of time. For maximum “turtlenecking” of a prolapsed stoma try adding a second washer to the barrier.
MicroSkin is easy to apply! The MicroSkin barrier comes with protective liner on both sides. The side strips allow you to handle the barrier without touching the adhesive. The outer liner frame provides stability during application and should be left on throughout the process only to be removed in the last step.
To prepare the barrier for application, use the MicroSkin Stoma Measuring Guide to measure the size of your stoma. The correct stoma size is the size of the smallest hole that can be placed around the stoma without touching it. Enlarge the starter hole on the individual barrier to the correct size using a good pair of scissors.
Remove the circular release paper from the center of the MicroSkin or Washer.
Carefully remove the square liner to expose the adhesive plate.
Holding both vertical side strips, apply the barrier over the stoma, starting at the bottom, smoothing with your hands as you go to avoid wrinkles or air bubbles.
Remove the liner from the vertical side strips and press down onto skin. Apply gentle pressure over the entire barrier plate.
Remove the paper frame from the non-adhesive side of the barrier. Gently rub over the entire surface of the MicroSkin, focusing on the seal around your stoma to ensure the best possible adhesion.
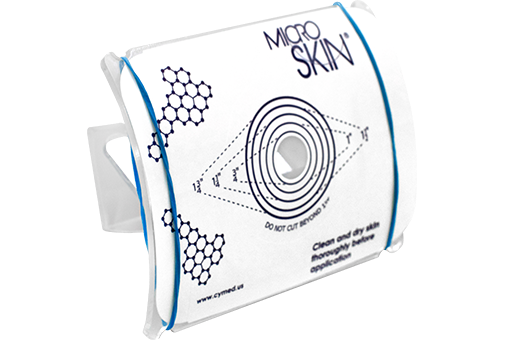
The MicroSkin Applicator is an excellent tool for accurately applying Cymed ostomy barriers, especially for those with visual or physical impairments that can make it difficult to apply an ostomy pouch without assistance. Regain your independence and confidence with the MicroSkin Applicator.
The MicroSkin Applicator can also be used to help apply other manufacturer’s two-piece barriers!
Flex the barrier and bend back a corner of the square liner.
Remove the rubber bands from the MicroSkin Applicator. Place the barrier on the curved surface with the mirror’s reflective side facing up. Re-secure the barrier by looping the rubber bands over the vertical side strips one at a time.
Once the barrier is held in place by the rubber bands, carefully peel away the center square liner starting from the folded corner, exposing the adhesive surface. Smooth out any wrinkles by stretching the barrier taut under the rubber bands.
Center the applicator mirror directly over your stoma and press firmly against your abdomen. Rock it up and down to ensure full adhesive contact. Pull straight back to release the barrier and the barrier will pop out of the rubber bands.
Remove the paper from the vertical side strips and press down onto skin. Apply gentle pressure over the entire barrier plate.
Remove the liner frame from the non-adhesive side of the barrier. Gently rub over the entire surface of the MicroSkin, focusing on the seal around your stoma to ensure the best possible adhesion.